
How to make compost, and why it matters
Nothing is more important to growing healthy plants than healthy soil.

I realize I’ve made a dozen or more references to compost in this space over the past six months. On one level this tells me I need to get a life! I mean, it’s probably kind of weird to be writing about compost at all, let alone several times a month.
Except here’s the thing. In three decades of gardening I’ve come to realize that nothing is more important to growing healthy plants than healthy soil. If you take care to feed the soil, everything else follows. And nothing does more to increase the vitality of soil than regular applications of decomposing plant matter.
And here’s something else. The addition of recycled organic matter to enrich the soil dates at least to the Stone Age. So when we re-use plant waste instead of sending it to landfills, we’re engaging in an act that dates as far back as 12,000 years, practicing what may be mankind’s oldest acts of environmentalism. It’s nice to be reminded of that now and then.
The benefits of compost were made clear to me once again this past summer. I didn’t use fertilizer. I watered only occasionally, despite a pretty dry July and August. And I had very few weeds
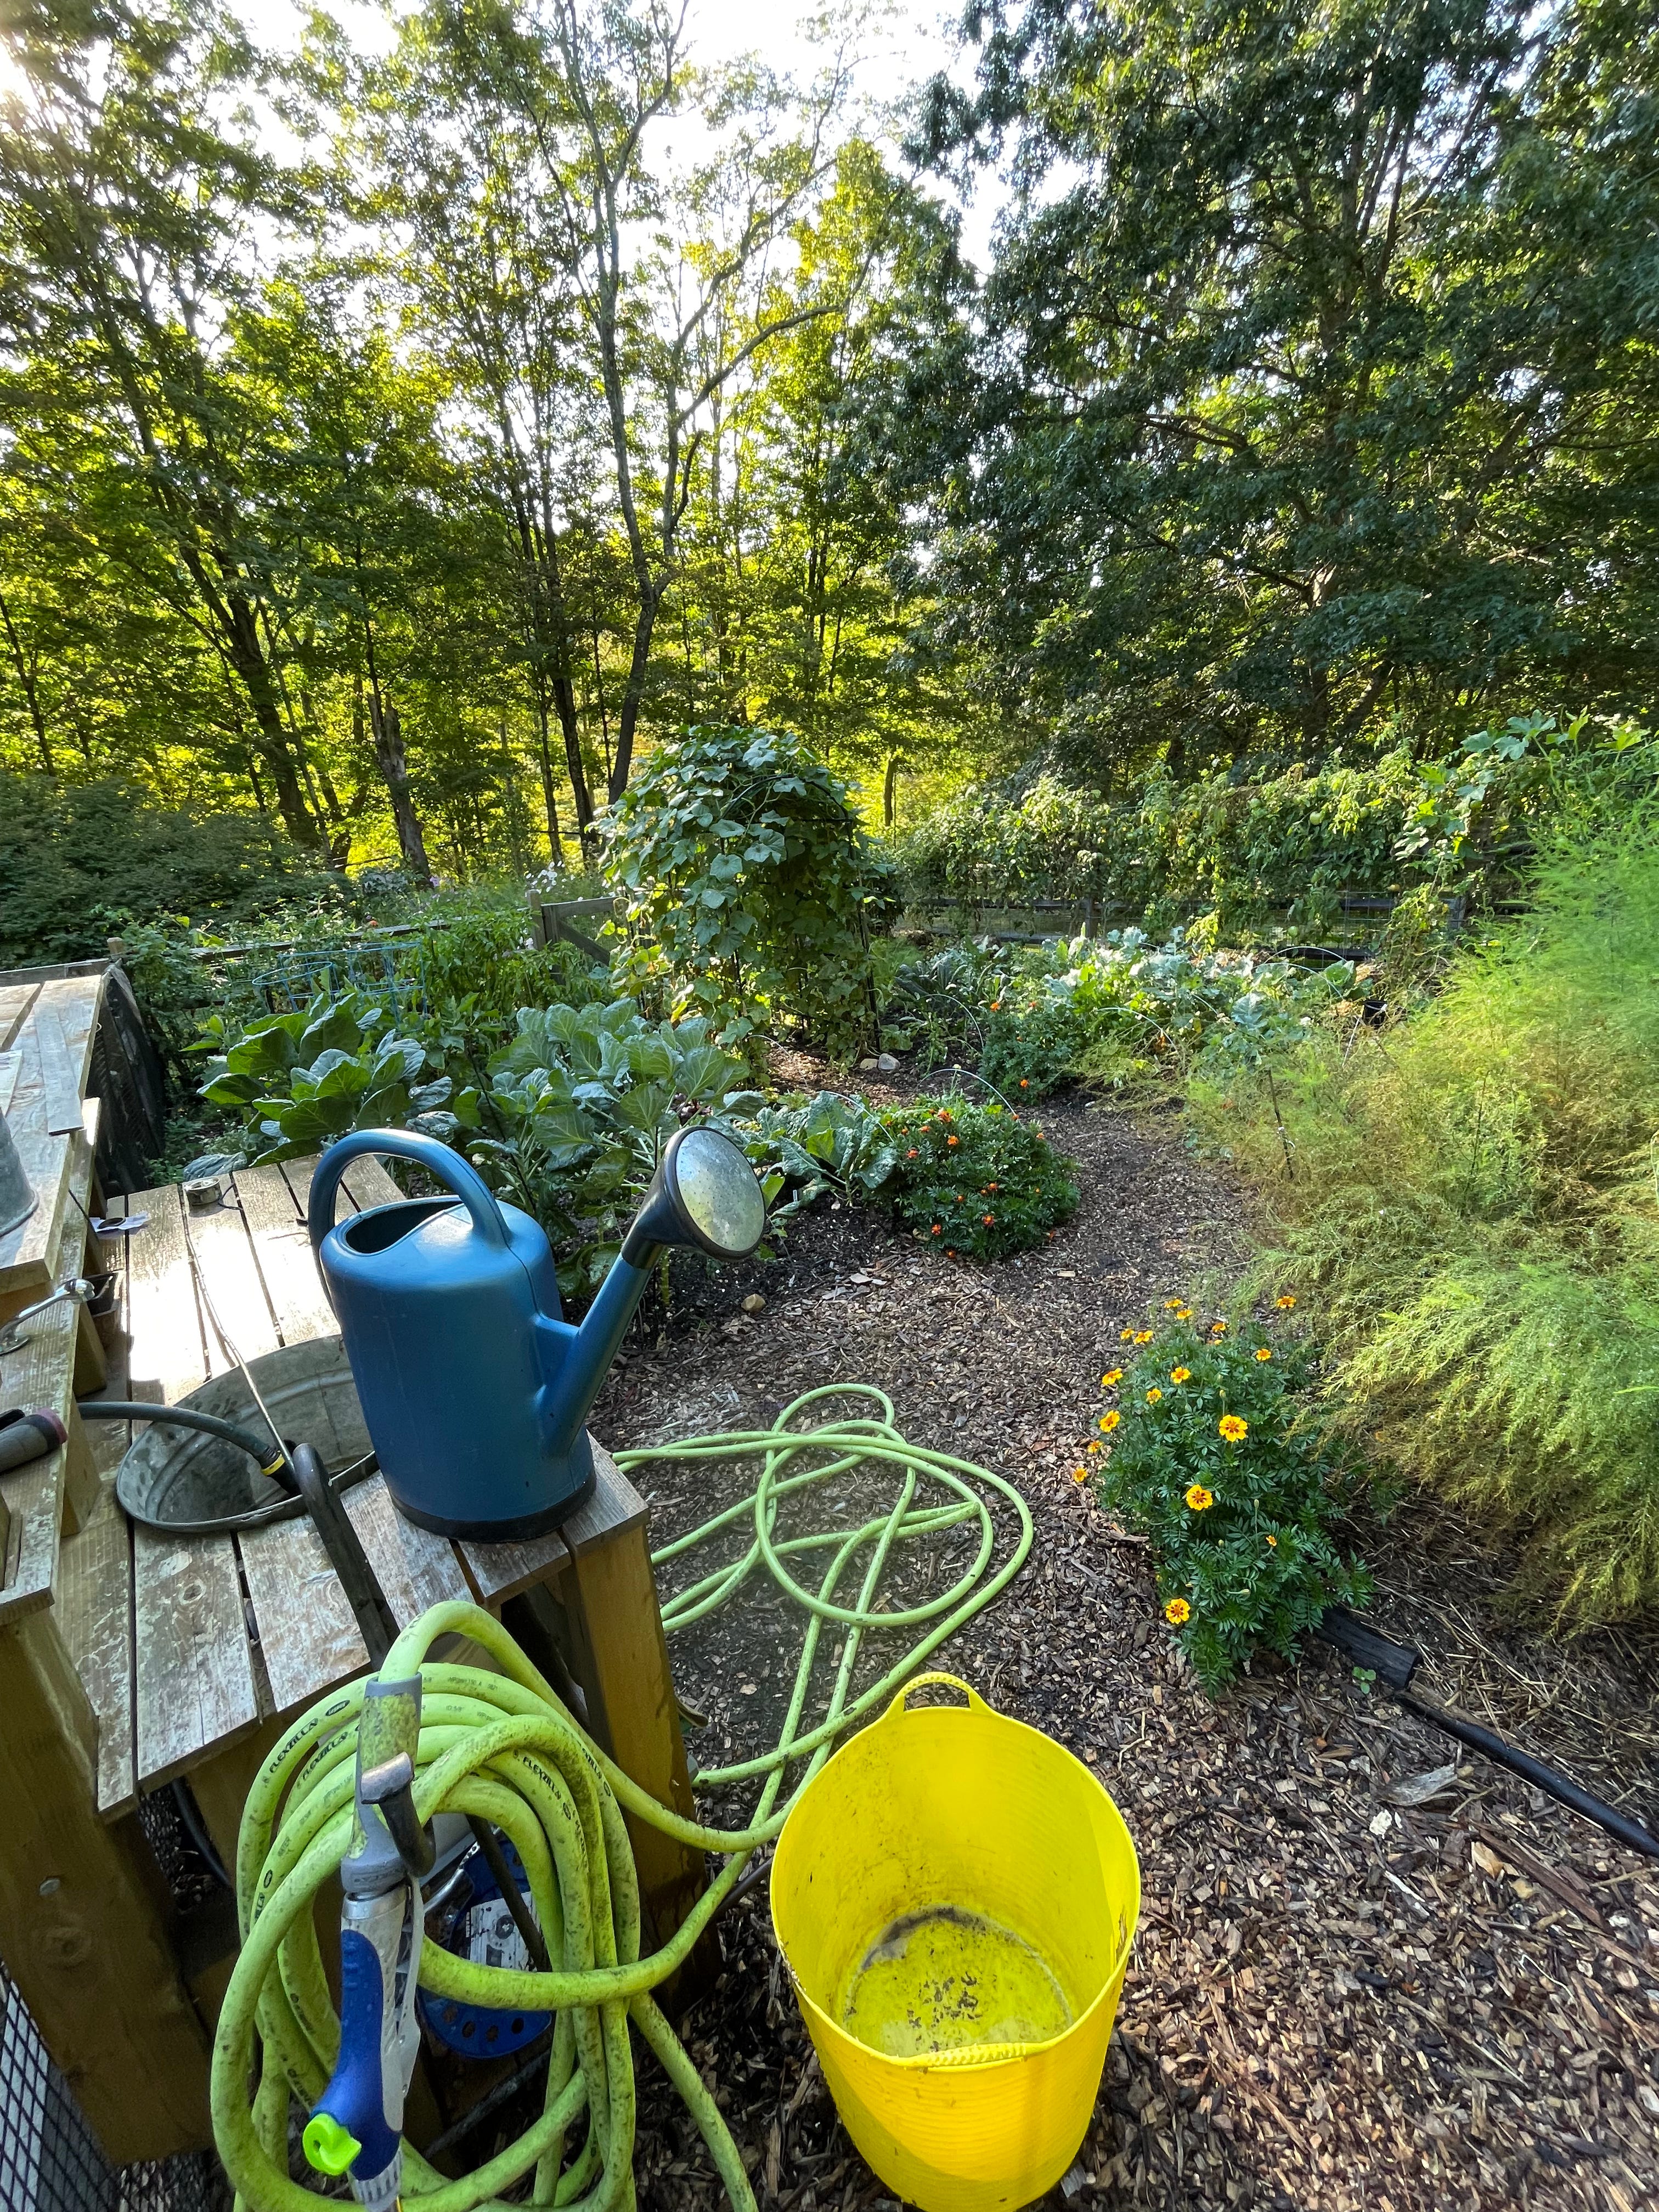
.The vegetable garden succeeded not because I had done anything special except to spread an inch or two of compost on top of the beds. I’m convinced that’s the reason for its success. Compost provides all the nutrients plants need. It improves soil structure, allowing plants to develop healthier roots, and helps the soil retain moisture. It also suppresses weeds, or at least well enough so that I only needed to lightly pass through the beds once or twice a month.
On a slightly more scientific level, compost is rich in nutrients and microorganisms that feed bacteria and other lifeforms in the garden soil that are building blocks to healthy plants. As microorganisms move through the soil they help with aeration, drainage and structure. The result is soil with balanced nutrients, increasing plants’ vigor and resiliency to disease and insects.
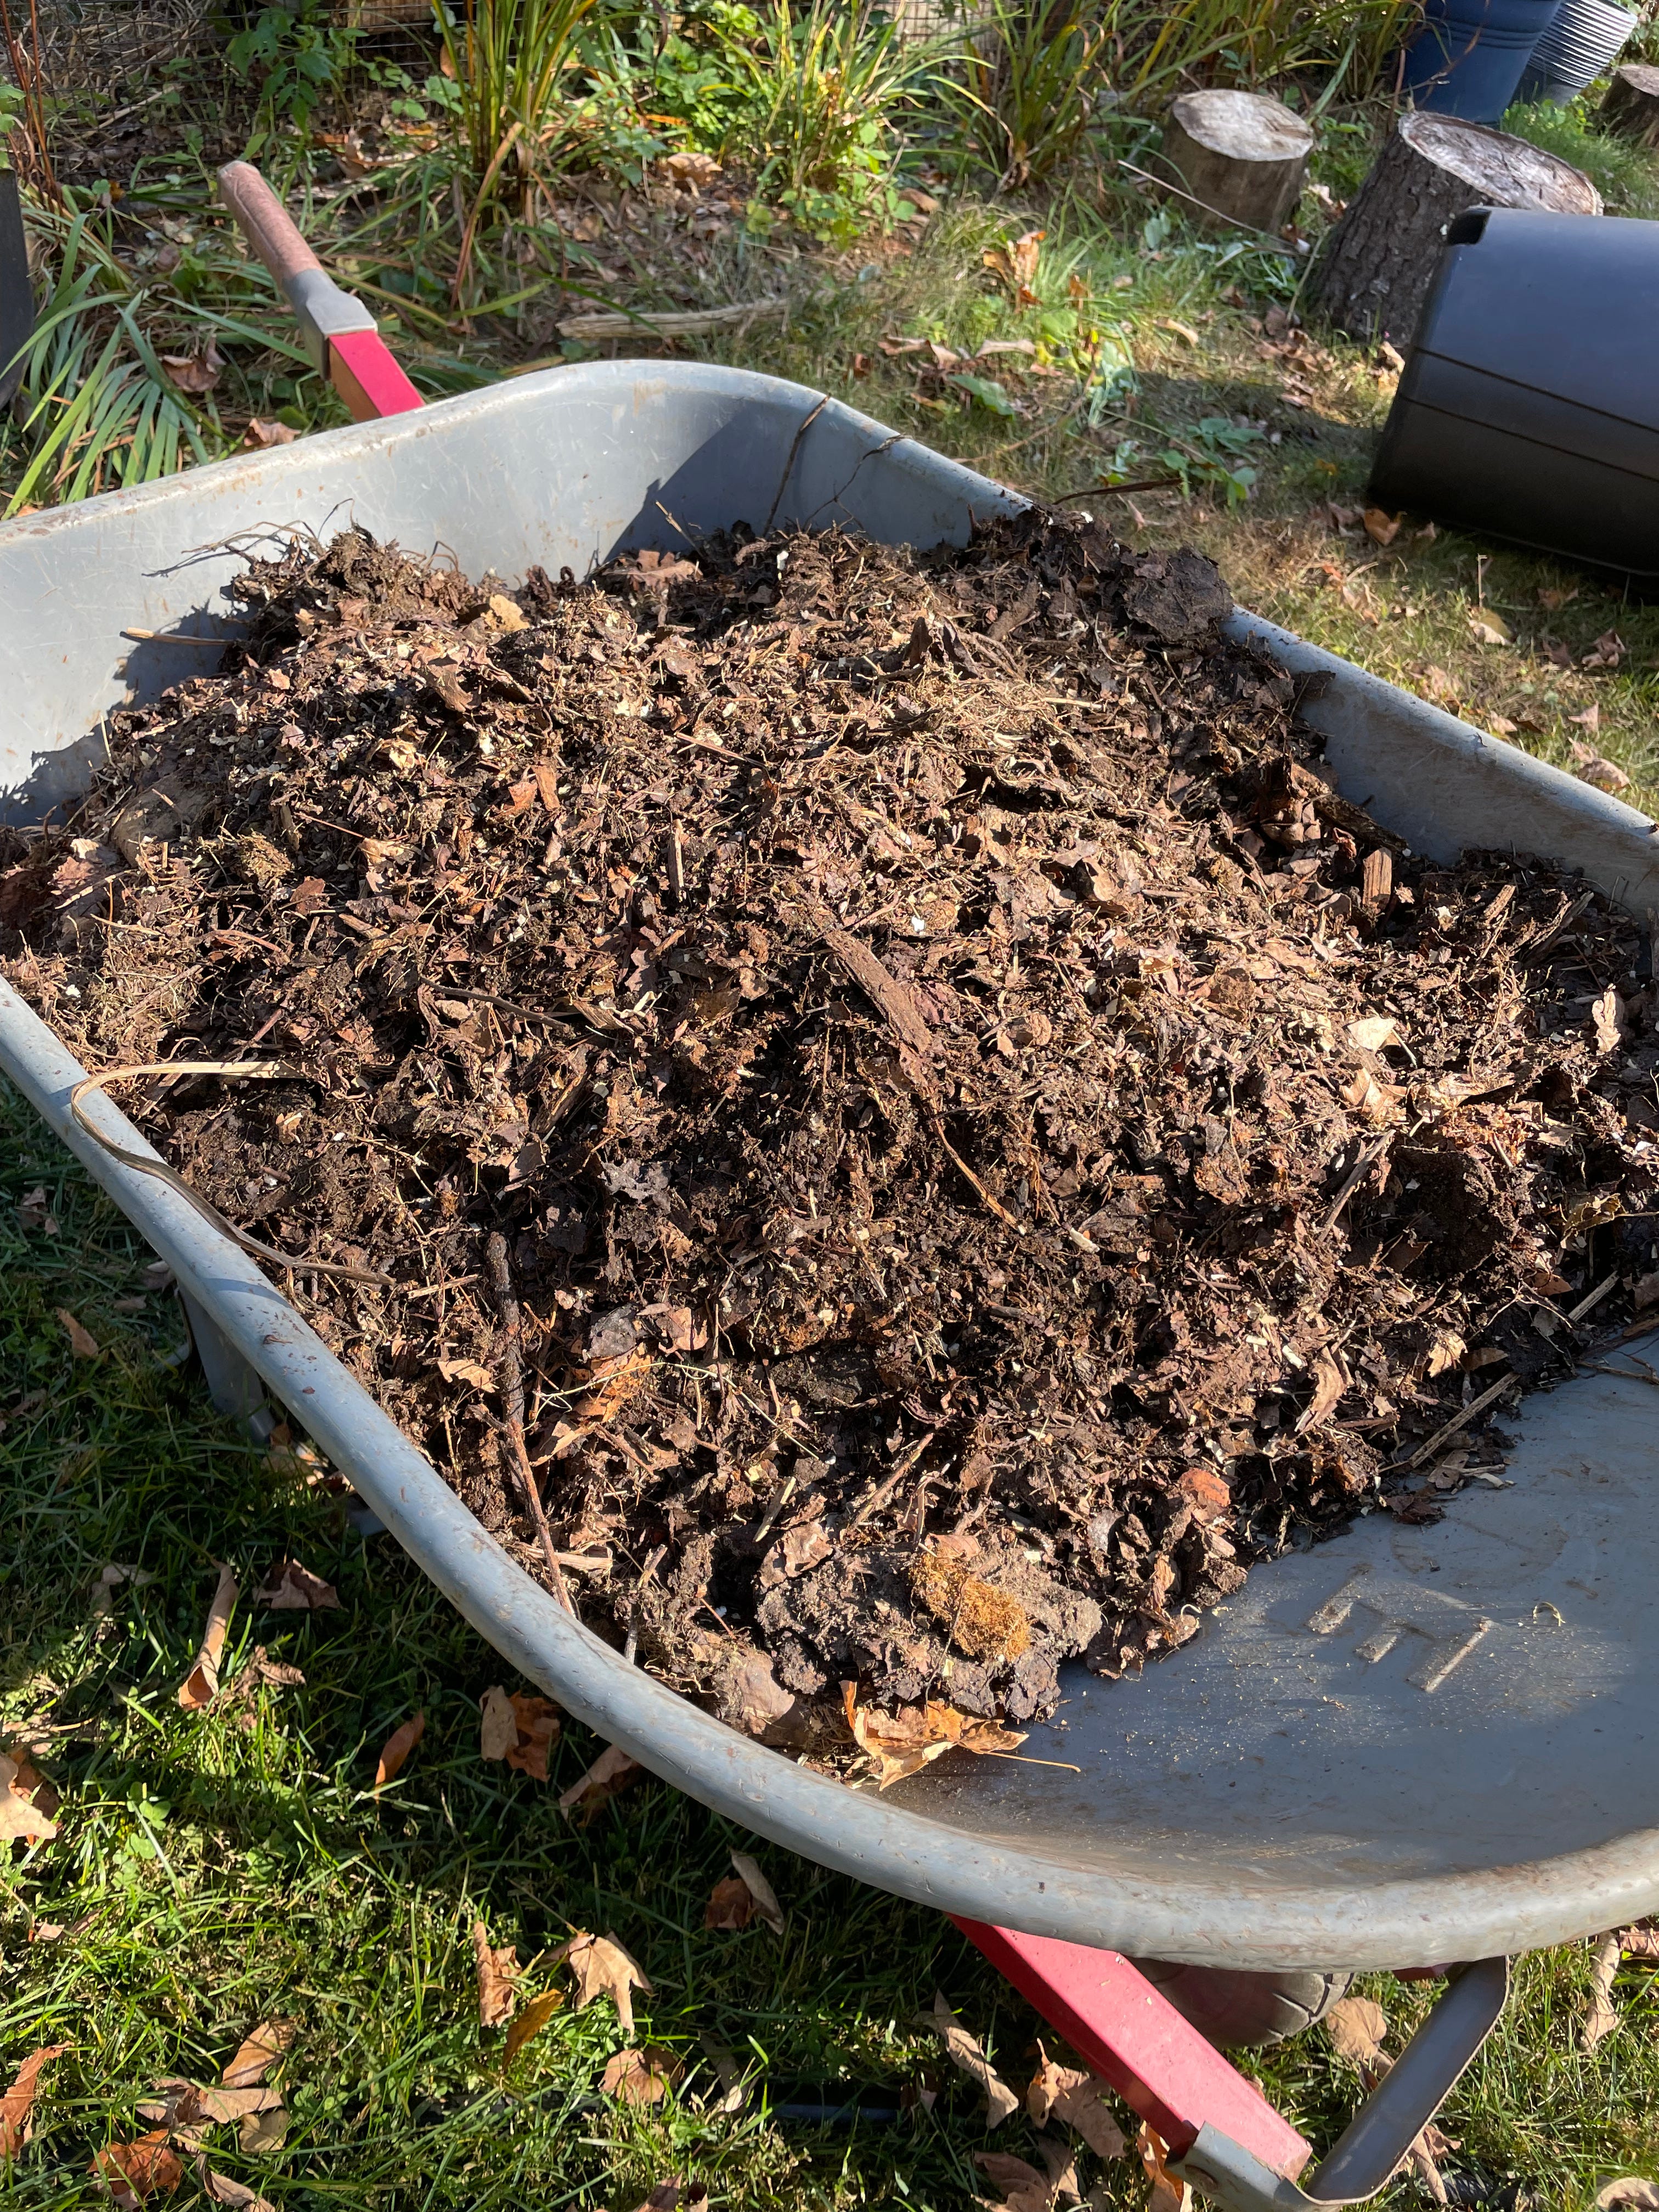
This week I pulled plants from three of my beds and spread compost on them. I try to make that a habit. Every time a bed is clear, or at least once a year in spring or fall, I take advantage of the open space to amend the soil. I just spread compost on top, about an inch will do the trick. I don’t dig it in or otherwise disturb the soil beneath it, a practice called no-dig or no-till gardening that’s increasing in popularity among home gardeners and some small farms.


So where do I get my compost? I make it.
I recognize this is not practical for everyone. If you can’t make your own compost you can buy it in bags from garden centers, though make sure it’s of a high quality. The problem is it’s expensive, especially if you have a larger garden. You can buy it in bulk, often from an area farm, or participate in one of a growing number of community plans in which you leave your kitchen vegetable scraps and sometimes garden waste in covered bins that are picked up by a composting company in return for bags of fully composted material.
Since I have the space and inclination, home composting works for me. I’ve done it since the mid-1990s, back when I had a small garden on a semi-urban lot outside Washington, DC, though on a pretty modest scale.
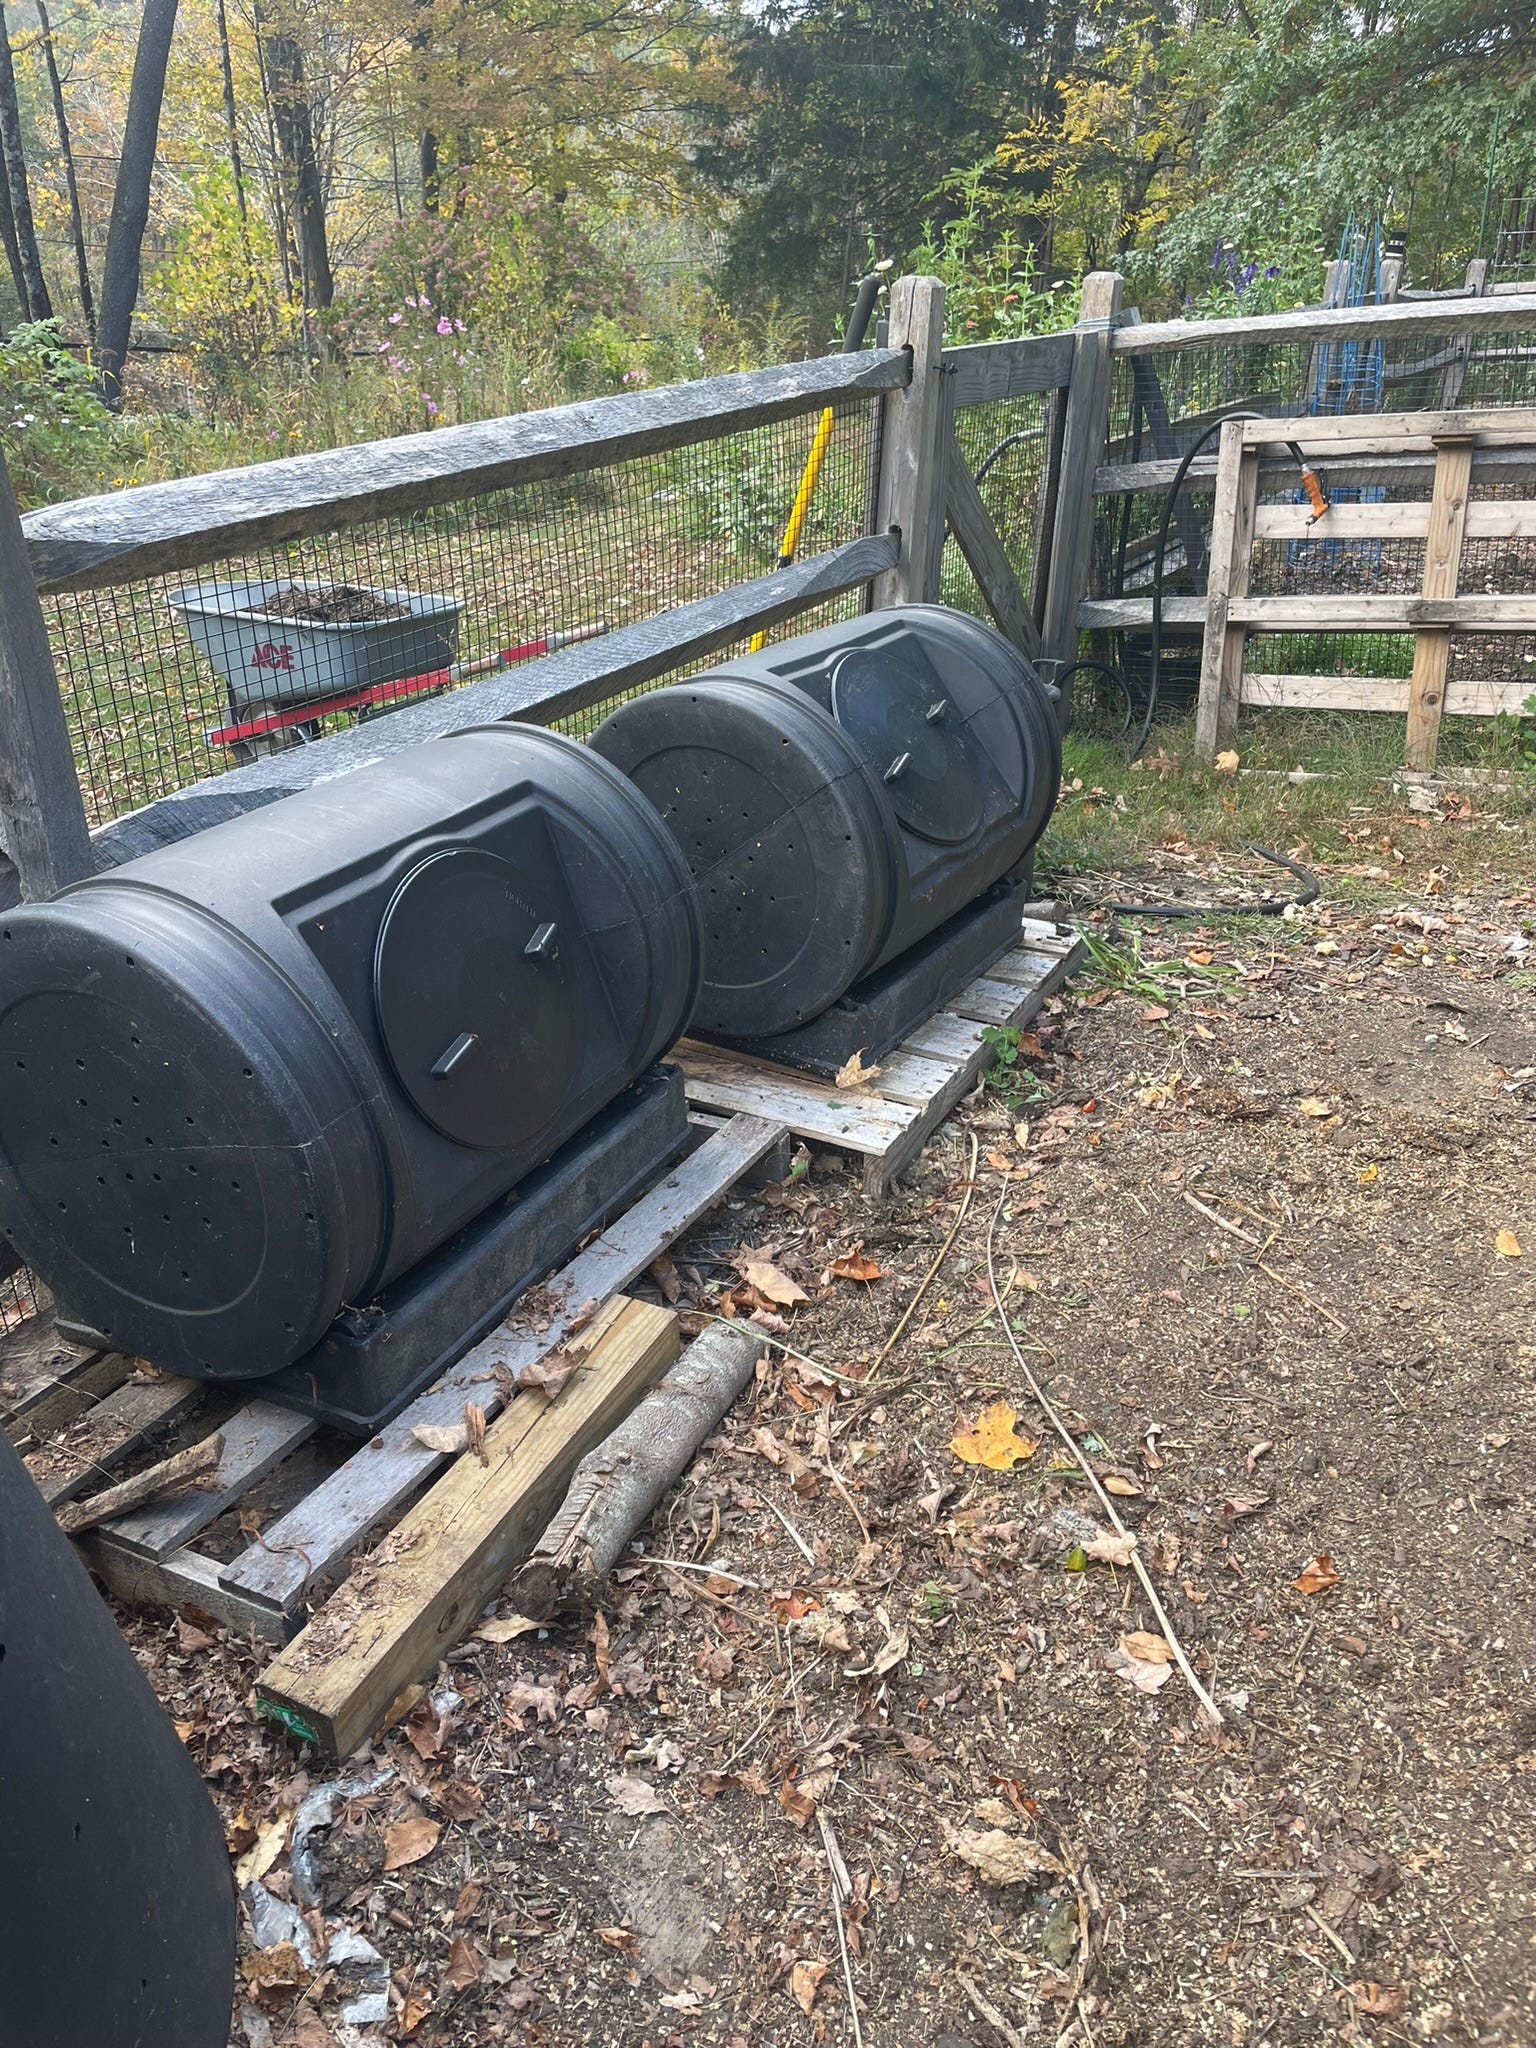
When I moved to western Massachusetts last year one of the first things I did was to build a composting area near my vegetable garden. It includes three wooden bins, each about 4 by 4 feet square, two round plastic composting tumblers I brought with me from Washington and two big plastic storage bins to store shredded leaves, a key ingredient to successful compost.
A wonderful guy who plows our driveway in the winter picked up nine used wooden pallets for me and dropped them off at the house. They were there waiting for me the day we drove up with the moving van. After leveling off the ground and putting a layer of cardboard down to deter weeds, I screwed three pallets together to make three sides of the first bin. I attached two pallets to that bin, using one of the first bin’s sides to complete the second bin, and then did the same to form a third bin. I used extra pallets to create removable doors, and some plywood and hard plastic to form a roof, loosely held down with heavy stones.
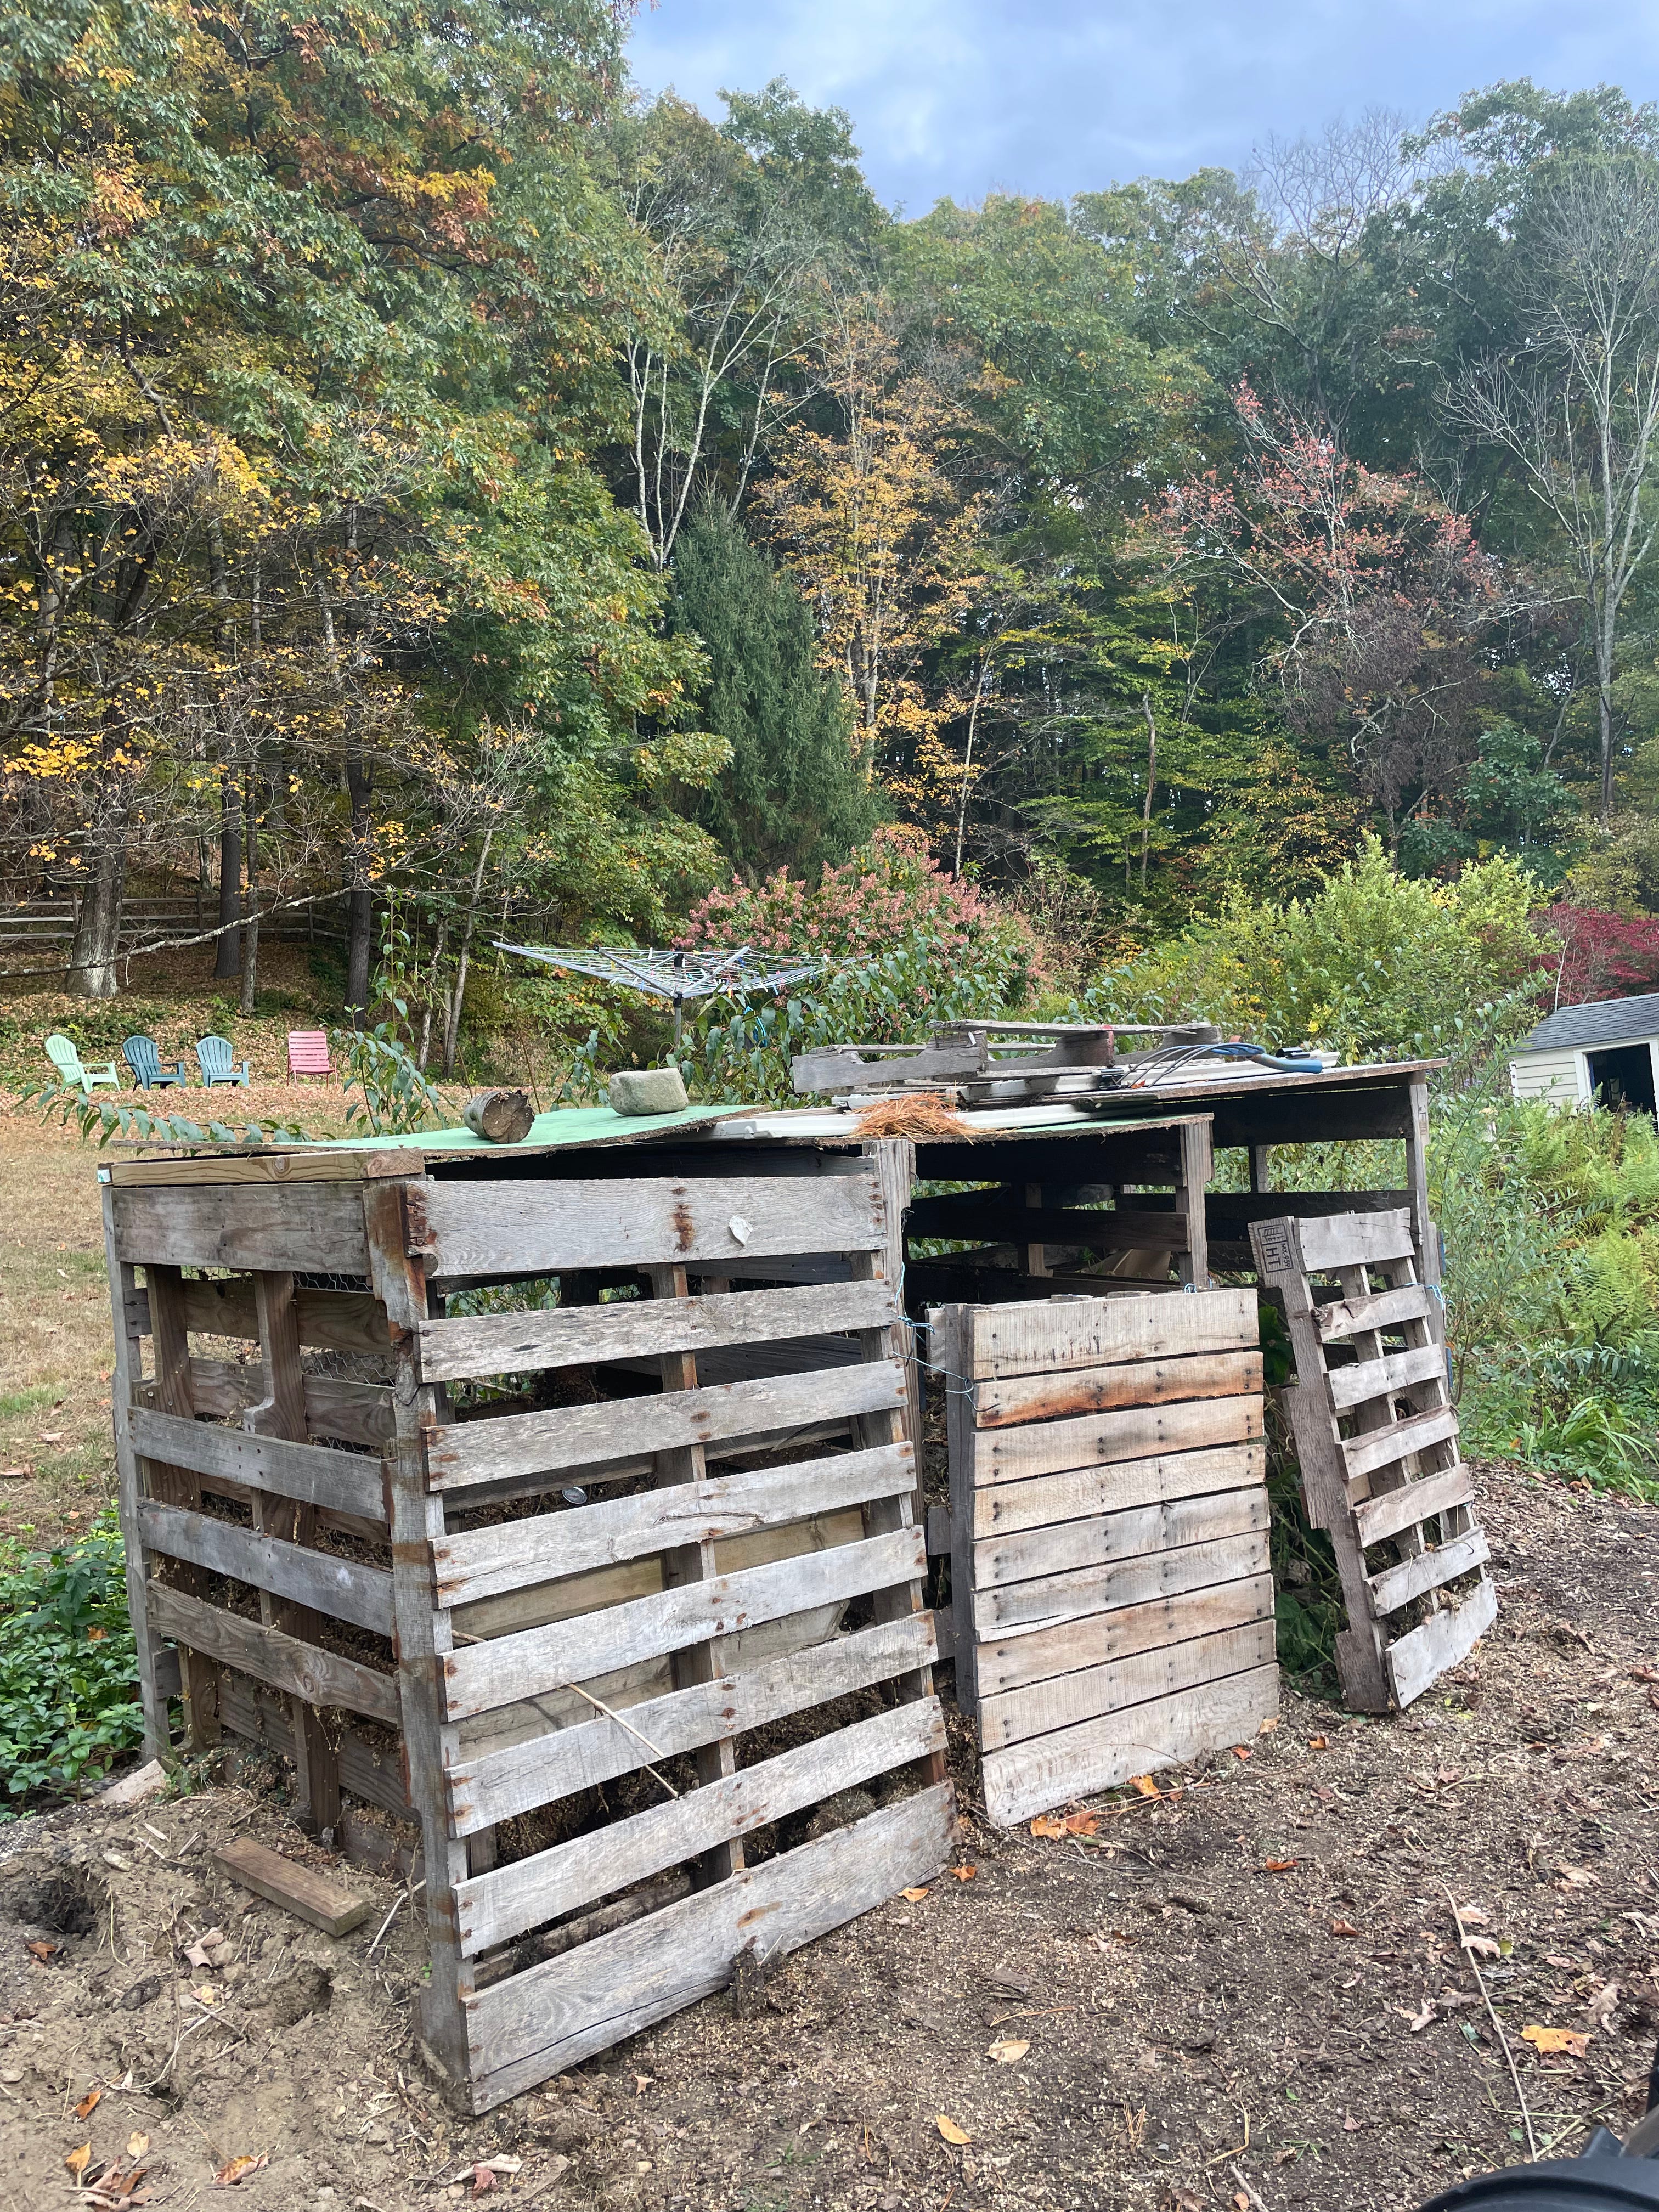
There are countless instructional videos on how to do this on YouTube, many of them much fancier and tidier. But mine works, which is good enough for me.
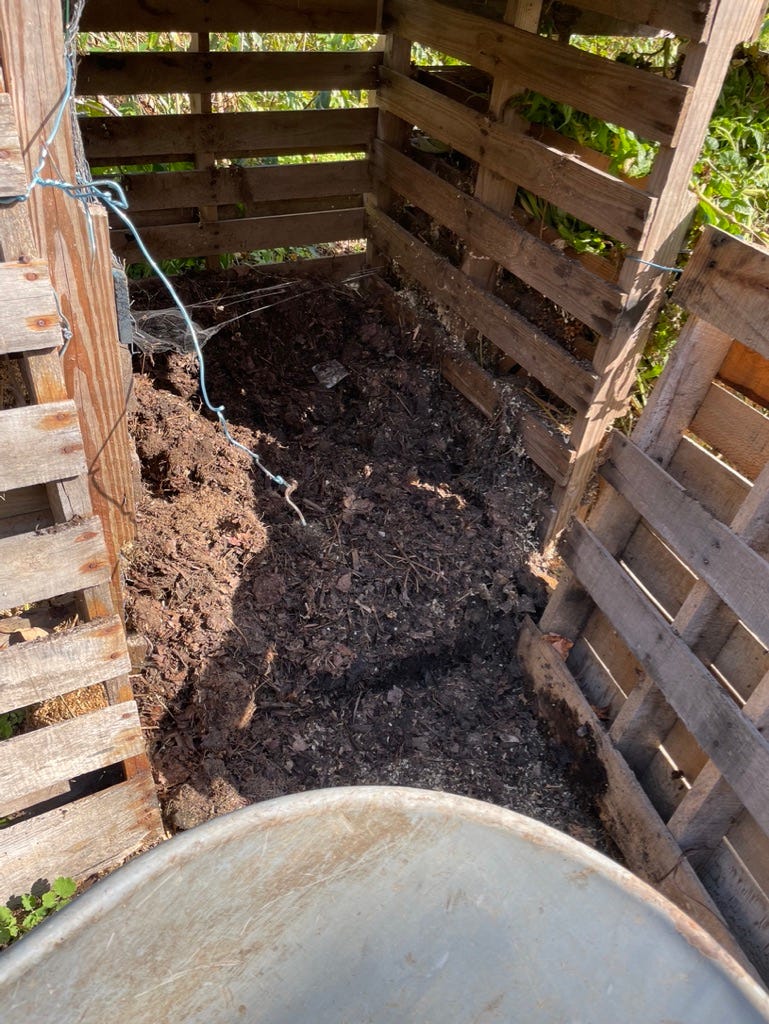
The next step is to begin collecting plant material for the bins. I fill one bin first, then start a second. By the time the first bin is fully composted and I’ve spread the finished material in the garden, I’m able to turn over the contents of the middle bin by filling the now empty first bin. And so on, so that each bin has compost at a different stage: ready for the garden, actively decomposing, and fresh plant matter.
Successful compost requires three ingredients: Nitrogen (Greens), Carbon (Browns) and Water. Nitrogen comes from the Greens, which can include weeds, discarded vegetables, grass clippings, kitchen scraps, eggshells and coffee grounds. The Carbon material comes from things like shredded leaves, shredded newspaper, shredded cardboard, shredded office paper and sawdust. You can also add wood ash. Don’t use magazines printed on glossy paper or cardboard with wax or plastic coatings or tape. You can include cow, horse or chicken manure – albeit in limited amounts, at least in my case – but you should never use manure from pets like dogs or cats, or kitty litter. And do not use any meat or fish scraps from the kitchen.
One side note is that we collect vegetable kitchen scraps in a covered container in the kitchen and then store it in one of the enclosed plastic composting tumblers that sit just across from my open bins. Bears are the reason. I empty the plastic bins a couple times a year, during bear hibernation time if I can time it right, and incorporate the comosted kitchen material with the rest of the compost. I cover the kitchen scraps by turning it all over with a pitchfork.
A second side note is that I’ve never encountered a problem with rats or other animals, though I know that can be a concern. If you are worried, use the enclosed bins that are readily available online and are not that expensive. Also, compost doesn’t really smell, or smell that bad, if it’s made properly. Here’s how:
There are many methods of constructing a compost pile, including enclosing it with chicken wire instead of wood or creating a free-form pile without any enclosure at all. But one thing you have to do is reach an approximate balance between greens and browns, or, in other words, nitrogen and carbon materials. It takes those two to tango, plus water (and oxygen). You should lightly spray the pile with water as you incorporate new materials, though don’t saturate it. Too much water is not good, either, which is why you should cover your pile with a roof, a sheet of plywood, or plastic or a tarp. Anything that’s secure and will survive a windy day.
I’ve never had the need to use “compost starters” or add nitrogen or other fertilizer to kick start the process. Properly assembled, your pile will transform itself into finished compost. You can add material as you go, adding both greens and browns and growing the pile until – in the case of a wooden bin – it’s about four feet high. Then you can turn it once and let it sit. The pile will heat up noticeably as the material breaks down, though it won’t get too hot. This method can take 8-10 months. You can also assemble it all at once lasagna style, alternating a layer of greens and a layer of browns, spraying each layer with water, until the bin is full. Done this way, the pile usually heats up quite quickly and dramatically – up to 150 degrees or so. This breaks everything down rapidly and has the added advantage of killing any weed seeds that made their way into the pile with the plants. This process can be finished in as little time as four months.


The bottom line is either way works, and what you’ll be left with is beautiful compost that will dramatically improve your garden beds.
As a footnote I would add that while I’ve learned greatly from practice and experience, I’ve been guided by many expert gardeners who helped convince me of the vital role compost plays in gardening. They include:
Joe Lamp’l, an Atlanta-based gardener and host of a TV series “Growing a Greener World,” and podcast “The Joe Gardener Show” that I used to listen to religiously while driving to work in downtown DC. He offers a valuable home composting guide on his website.
Lee Reich, a composting guru and former plant and soil researcher at the U.S. Department of Agriculture and Cornell University who runs his own farm called Farmden in the Hudson Valley. He’s a prolific gardening writer and book author who claims to compost old blue jeans. He also graciously answers my questions about gardening conundrums when I email him.
Charles Dowding, who operates the Homeacres farm in Somerset, England, who’s something of an Instagram star. He’s written prolifically on no-dig gardening in addition to seed starting and plant cultivation and has a lively YouTube channel. Charles’ latest book is called, appropriately, Compost.