How to grow microgreens, and why they're good for you
I'm satisfying my craving to put seeds in the soil this winter by growing these nutritious and forgiving little greens that spice up salads and sandwiches

Since I seem to have an itch to put seeds in soil I’ve turned once again to growing microgreens this winter. You can grow microgreens year round, but when it’s grey and cold outside and the ground is frozen, planting a tray of seeds that can be harvested indoors in less than two weeks is rewarding therapy.
There are a lot of reasons to plant your own microgreens. It doesn’t take much soil or space, and you can grow them in practically anything. Compared to buying them in the market, they’re cheap. You can even use seeds in packets from last year’s garden. They grow fast, so you get a quick reward. And they’re a nutritious and tasty addition to salads, sandwiches or smoothies or as a garnish on the plate.
I’ll add that our dogs also love microgreens when mixed in with their food, which we’ll do especially when the greens have wilted a bit in the fridge. They give our pets a boost of vitamins and minerals, antioxidants, fiber, you name it. Just like they do with us.
I’ve grown microgreens from broccoli, arugula, kale, mustard, basil, onion, radish and lettuce seeds. Their nutritional value is often multiples higher than you get from mature plants, plus they’re packed with flavor. There’s nothing like a mixed salad sprinkled with basil, mustard or onion microgreens to give it a little extra zest.
So how do you grow them? It’s pretty easy. Here’s what you’ll need:
A container. I’ve used takeout containers, seed-starting trays and cups.. Because they don’t require much soil to grow in, a shallow container is best. You’ll want to puncture the bottom of your container with holes for drainage. You can also order trays designed for microgreen growing from many seed starting companies. I bought a couple last year.
Seed starting mix. You want to use the same kind of peat moss-based mix you’d use for starting any seeds, the kind available in garden centers and hardware stores. Straight peat moss, mixed with a little perlite or vermiculite for added drainage, is also great. Most seed starting mixes have perlite mixed in already, and usually some fertilizer as well.
Fertilizer. You really don’t need much fertilizer since these immature seedlings will get most of their nutrients from the seeds themselves. If you use peat moss, you can mix in a tablespoon or less, depending on the size of your container, of a powdered fertilizer.
Seeds. Garden centers and seed companies sell a variety of mixes for microgreens. Since you’ll be planting more seeds for microgreens than you would for individual plants these mixes are sold in larger amounts than in standard seed packets. Given the volume of microgreens you get, it’s still pretty inexpensive. You also can use unused seeds from last summer if you have them on hand.
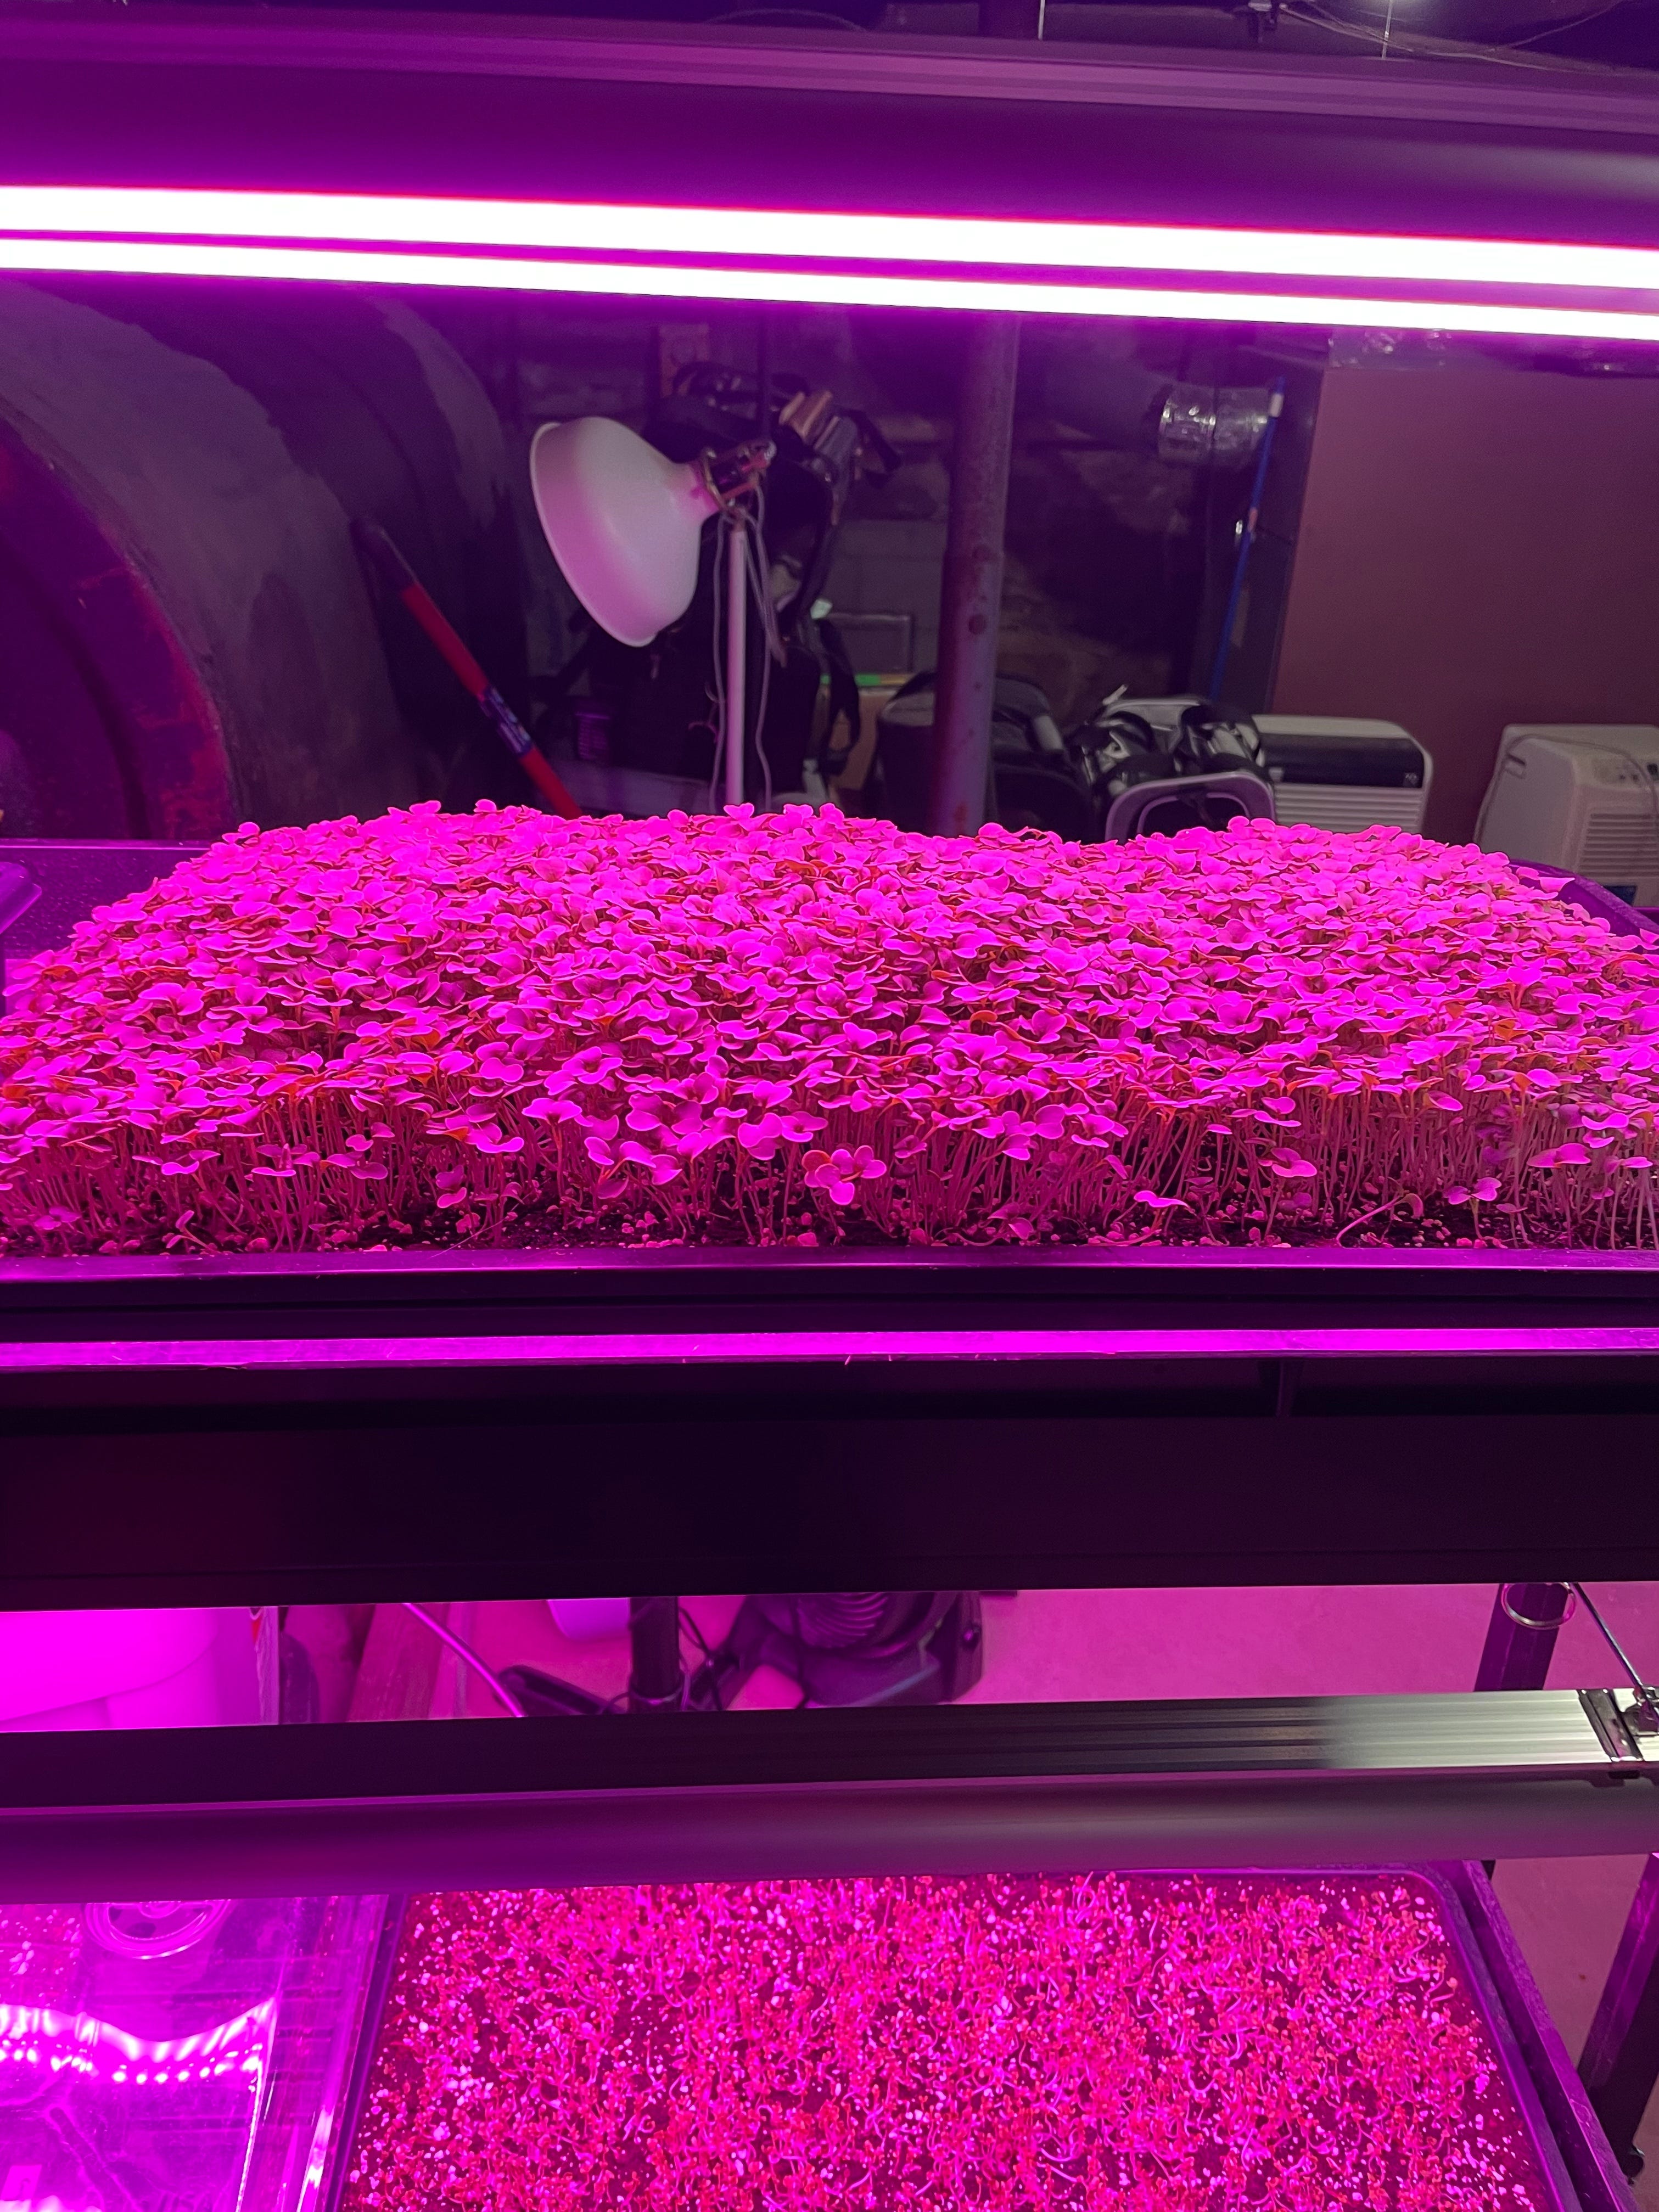
Heat and light. As with starting most seedlings, microgreens respond best when placed in a warm spot to germinate. I place mine on heating pads designed for seed starting, but you can also put them on the top of the refrigerator or a similar warm, out of the way place. After the seeds germinate you’ll want to expose them to light just as you would any seedlings. It can be a window sill (a south-facing window is best to get the most available direct sunlight) or under fluorescent or LED lights. Up to 16 hours of non-natural light a day is best.
Spray bottle. A spray bottle filled with water will help you keep the seedlings moist once they germinate.
Sharp scissors. For harvesting the microgreens.
Here’s a step-by-step method for starting and harvesting your own microgreens.
Moisten your seed-starting mix and fill your planting container with it. Slightly damp soil is best; don’t saturate it. Fill the container to the rim to make it easier to harvest the microgreens. Lightly compress the starting mix and level the surface as best you can.
Pour about a tablespoon of seeds into a cup, then use the cup to sprinkle the seeds as evenly as possible across the entire surface of the moistened soil. The soil will be fairly heavily seeded when you’re done but there will still be some space between the seeds. It’s not an exact science.
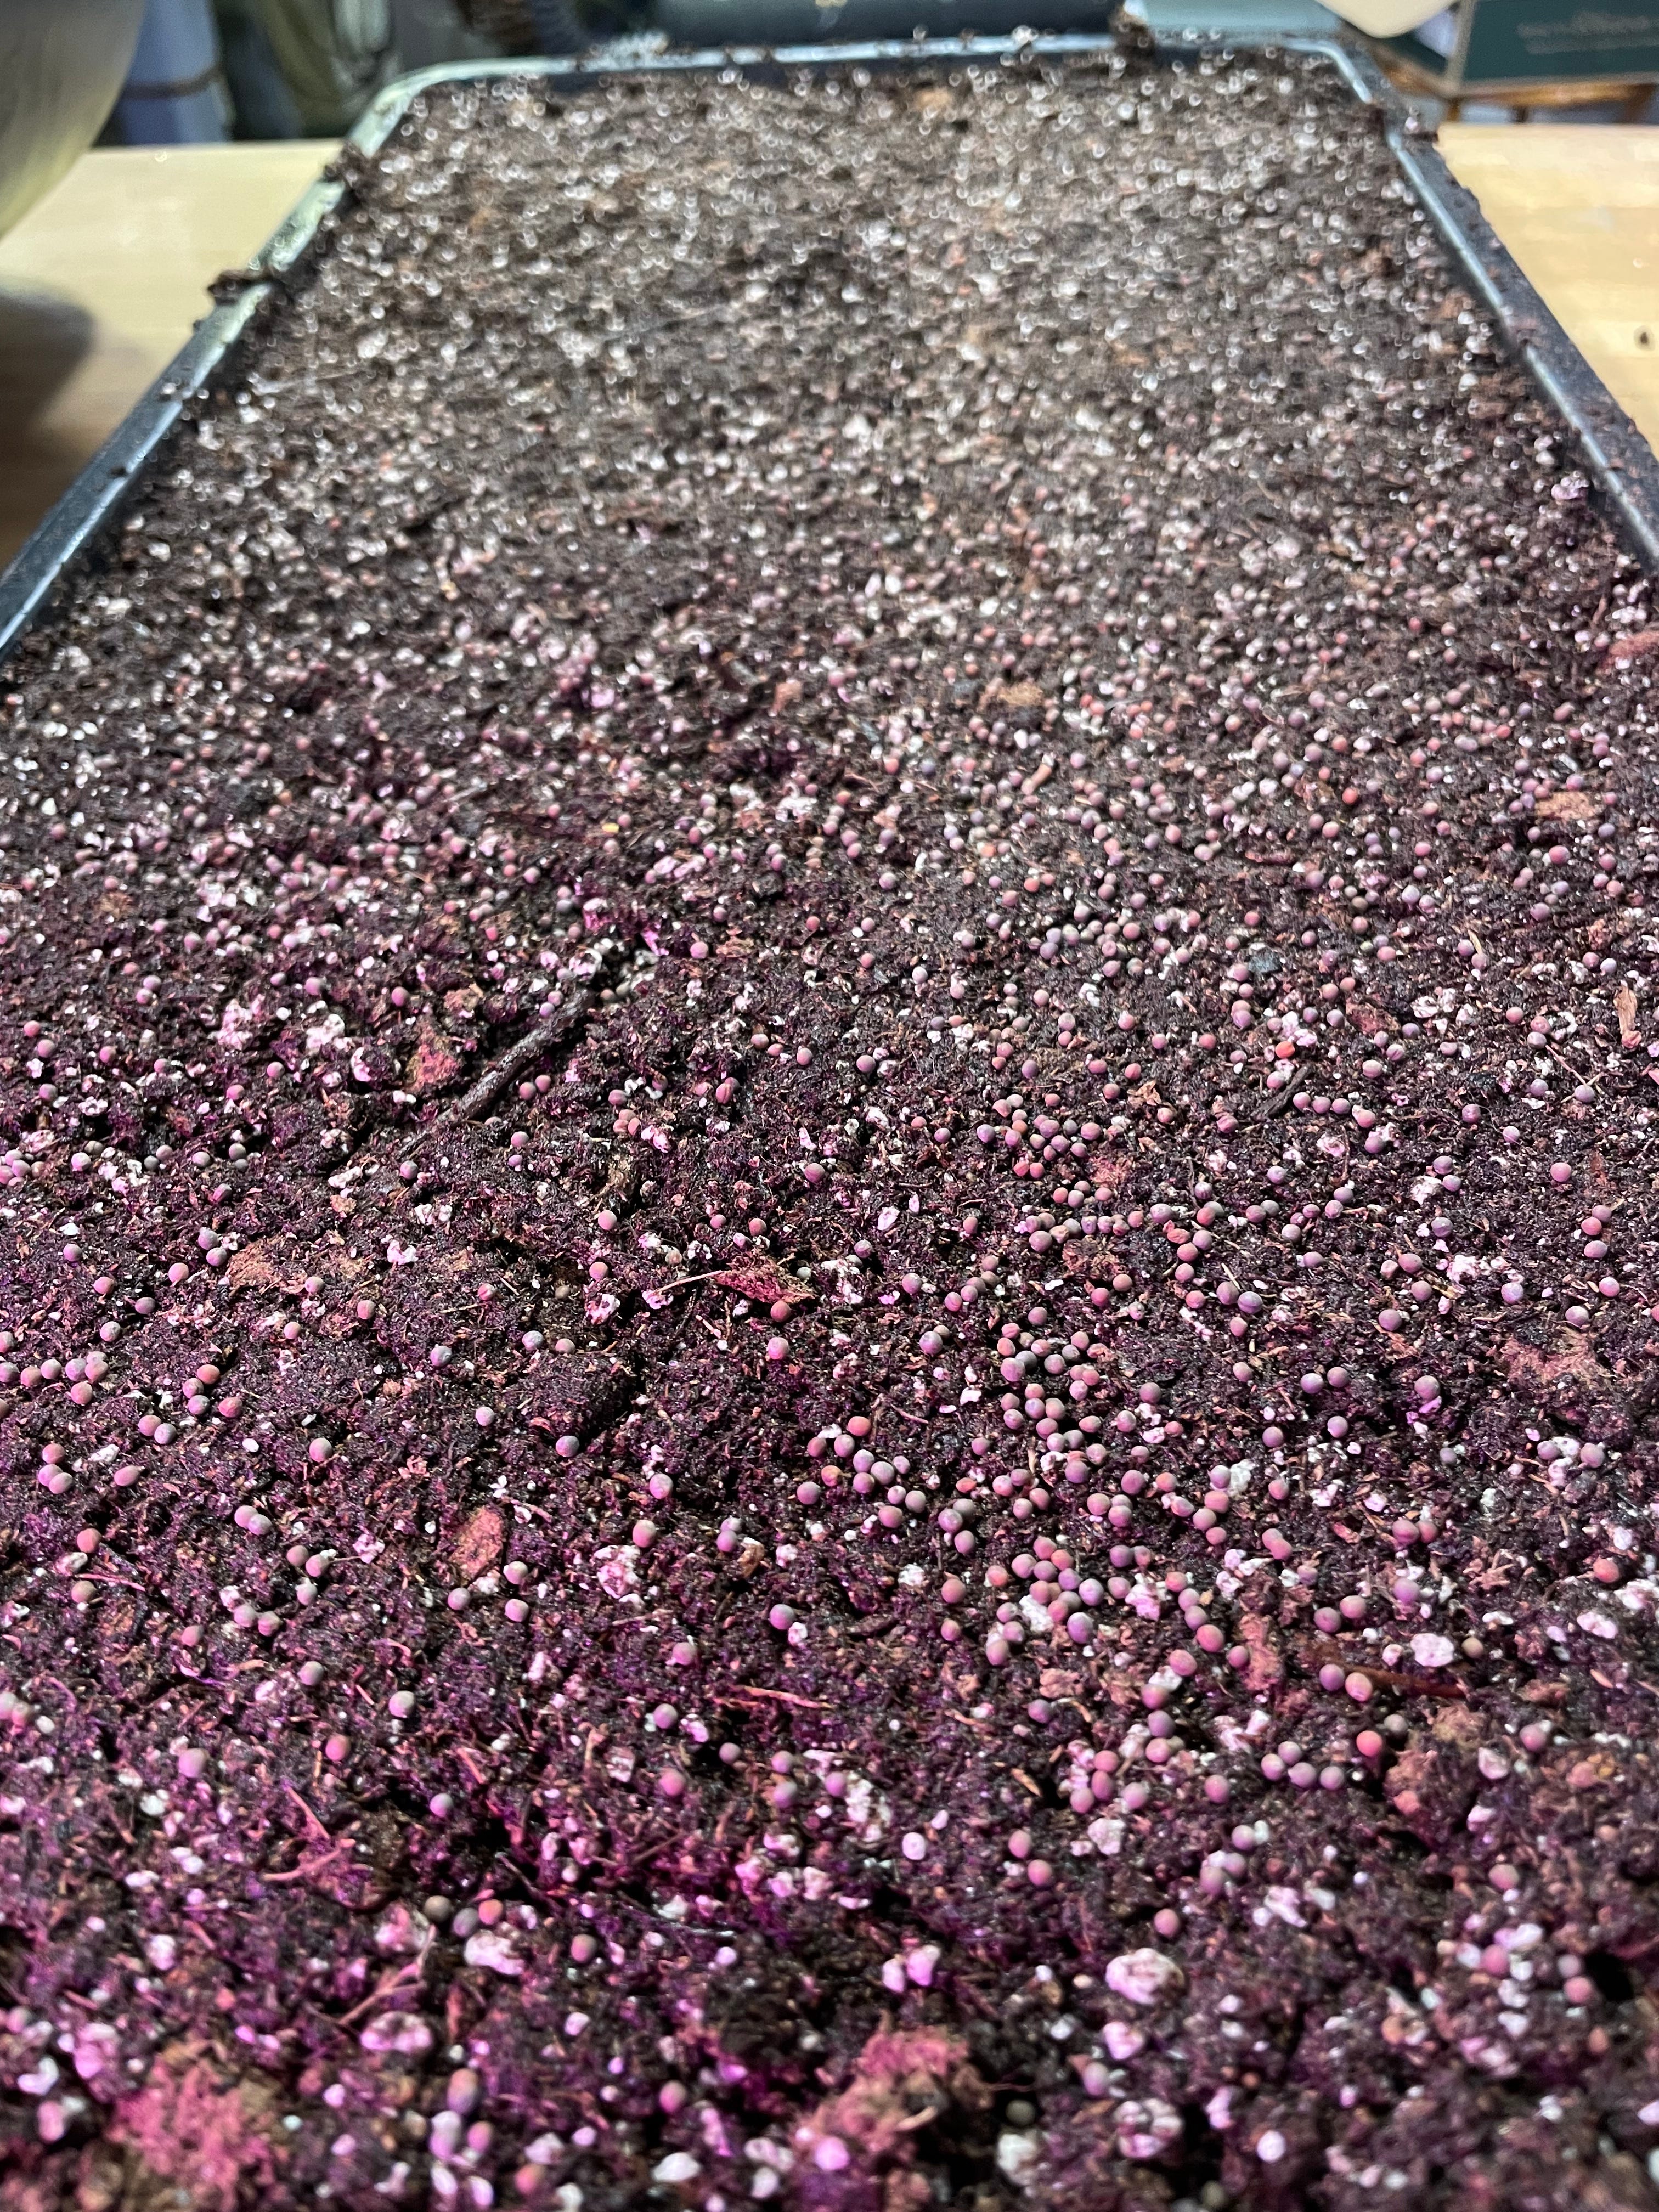
Lightly spray the seeds with water. There’s no need to cover the seeds with additional soil.
Place the container in a warm, dark spot. You can also cover the tray with anything that will block out light without disturbing the soil. I use an empty planting tray placed on top of the container.
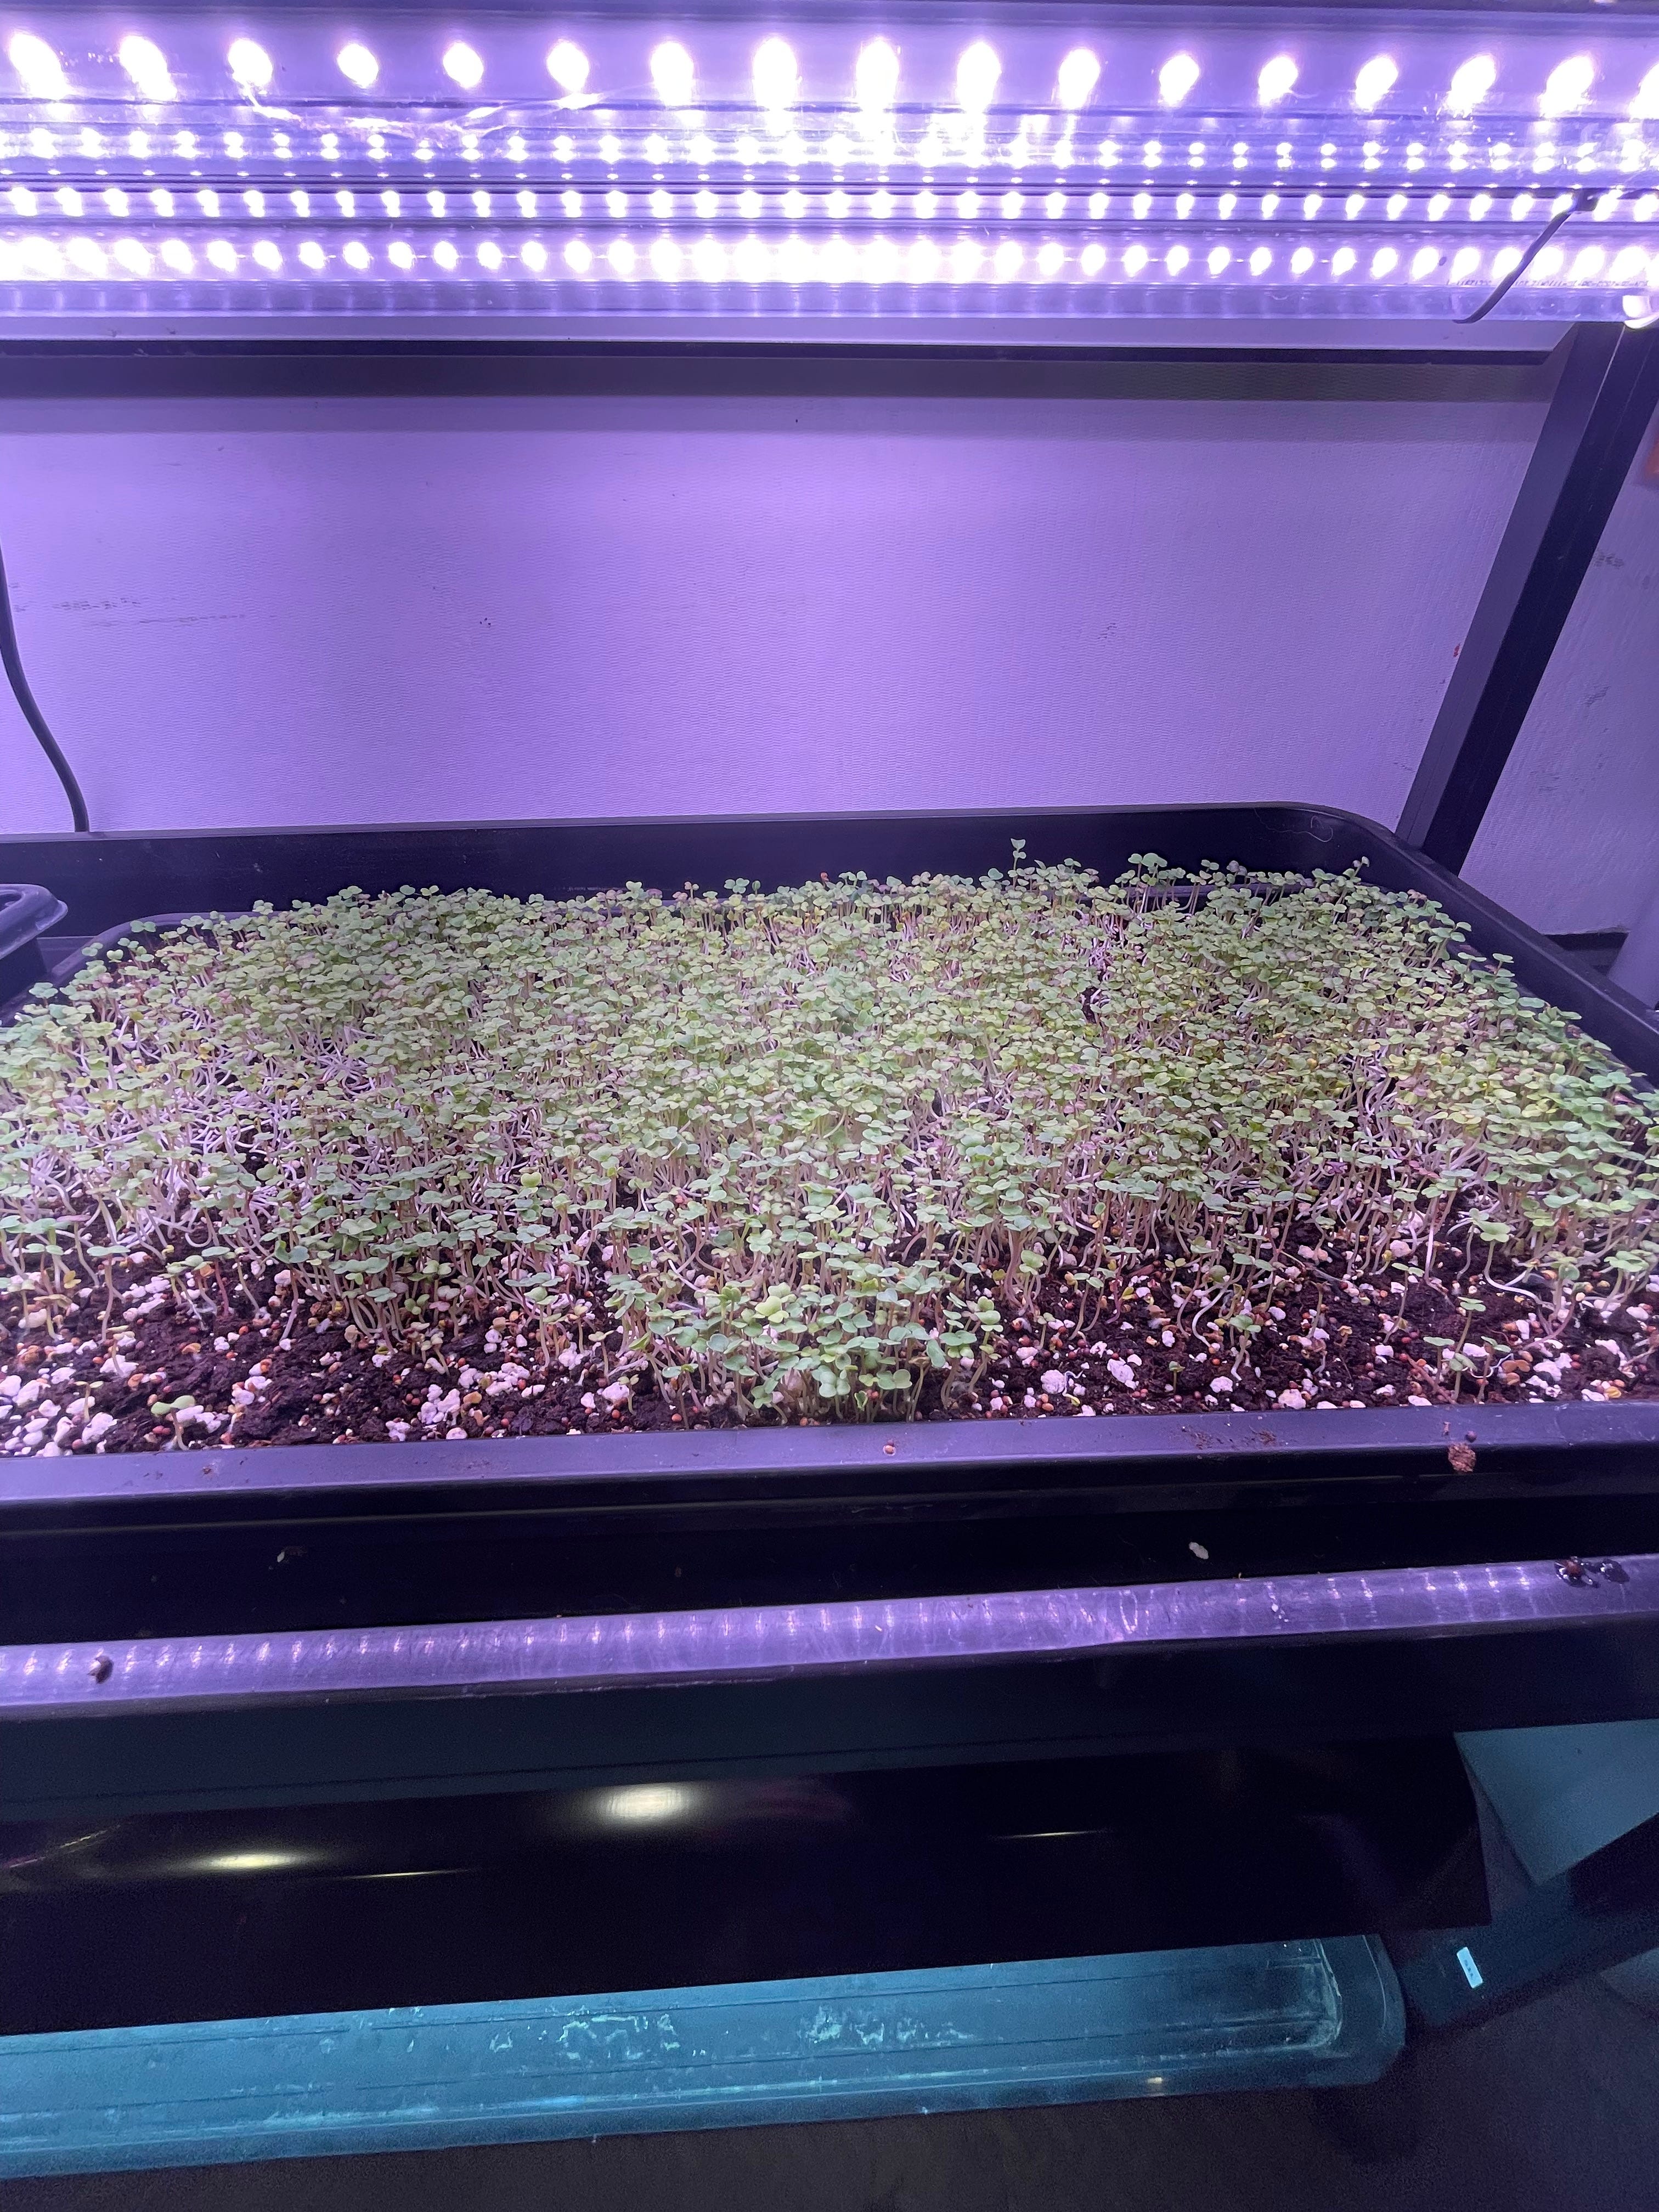
Remove the cover and lightly mist the seedlings once a day until they begin germinating. This usually takes about three days.
Once the seeds have germinated, remove the cover and place the container on a sunny window sill or under fluorescent or LED grow lights.
Keep the soil moist, but avoid over-watering. To limit contact between water and the greens, watering from the bottom is best at this point.
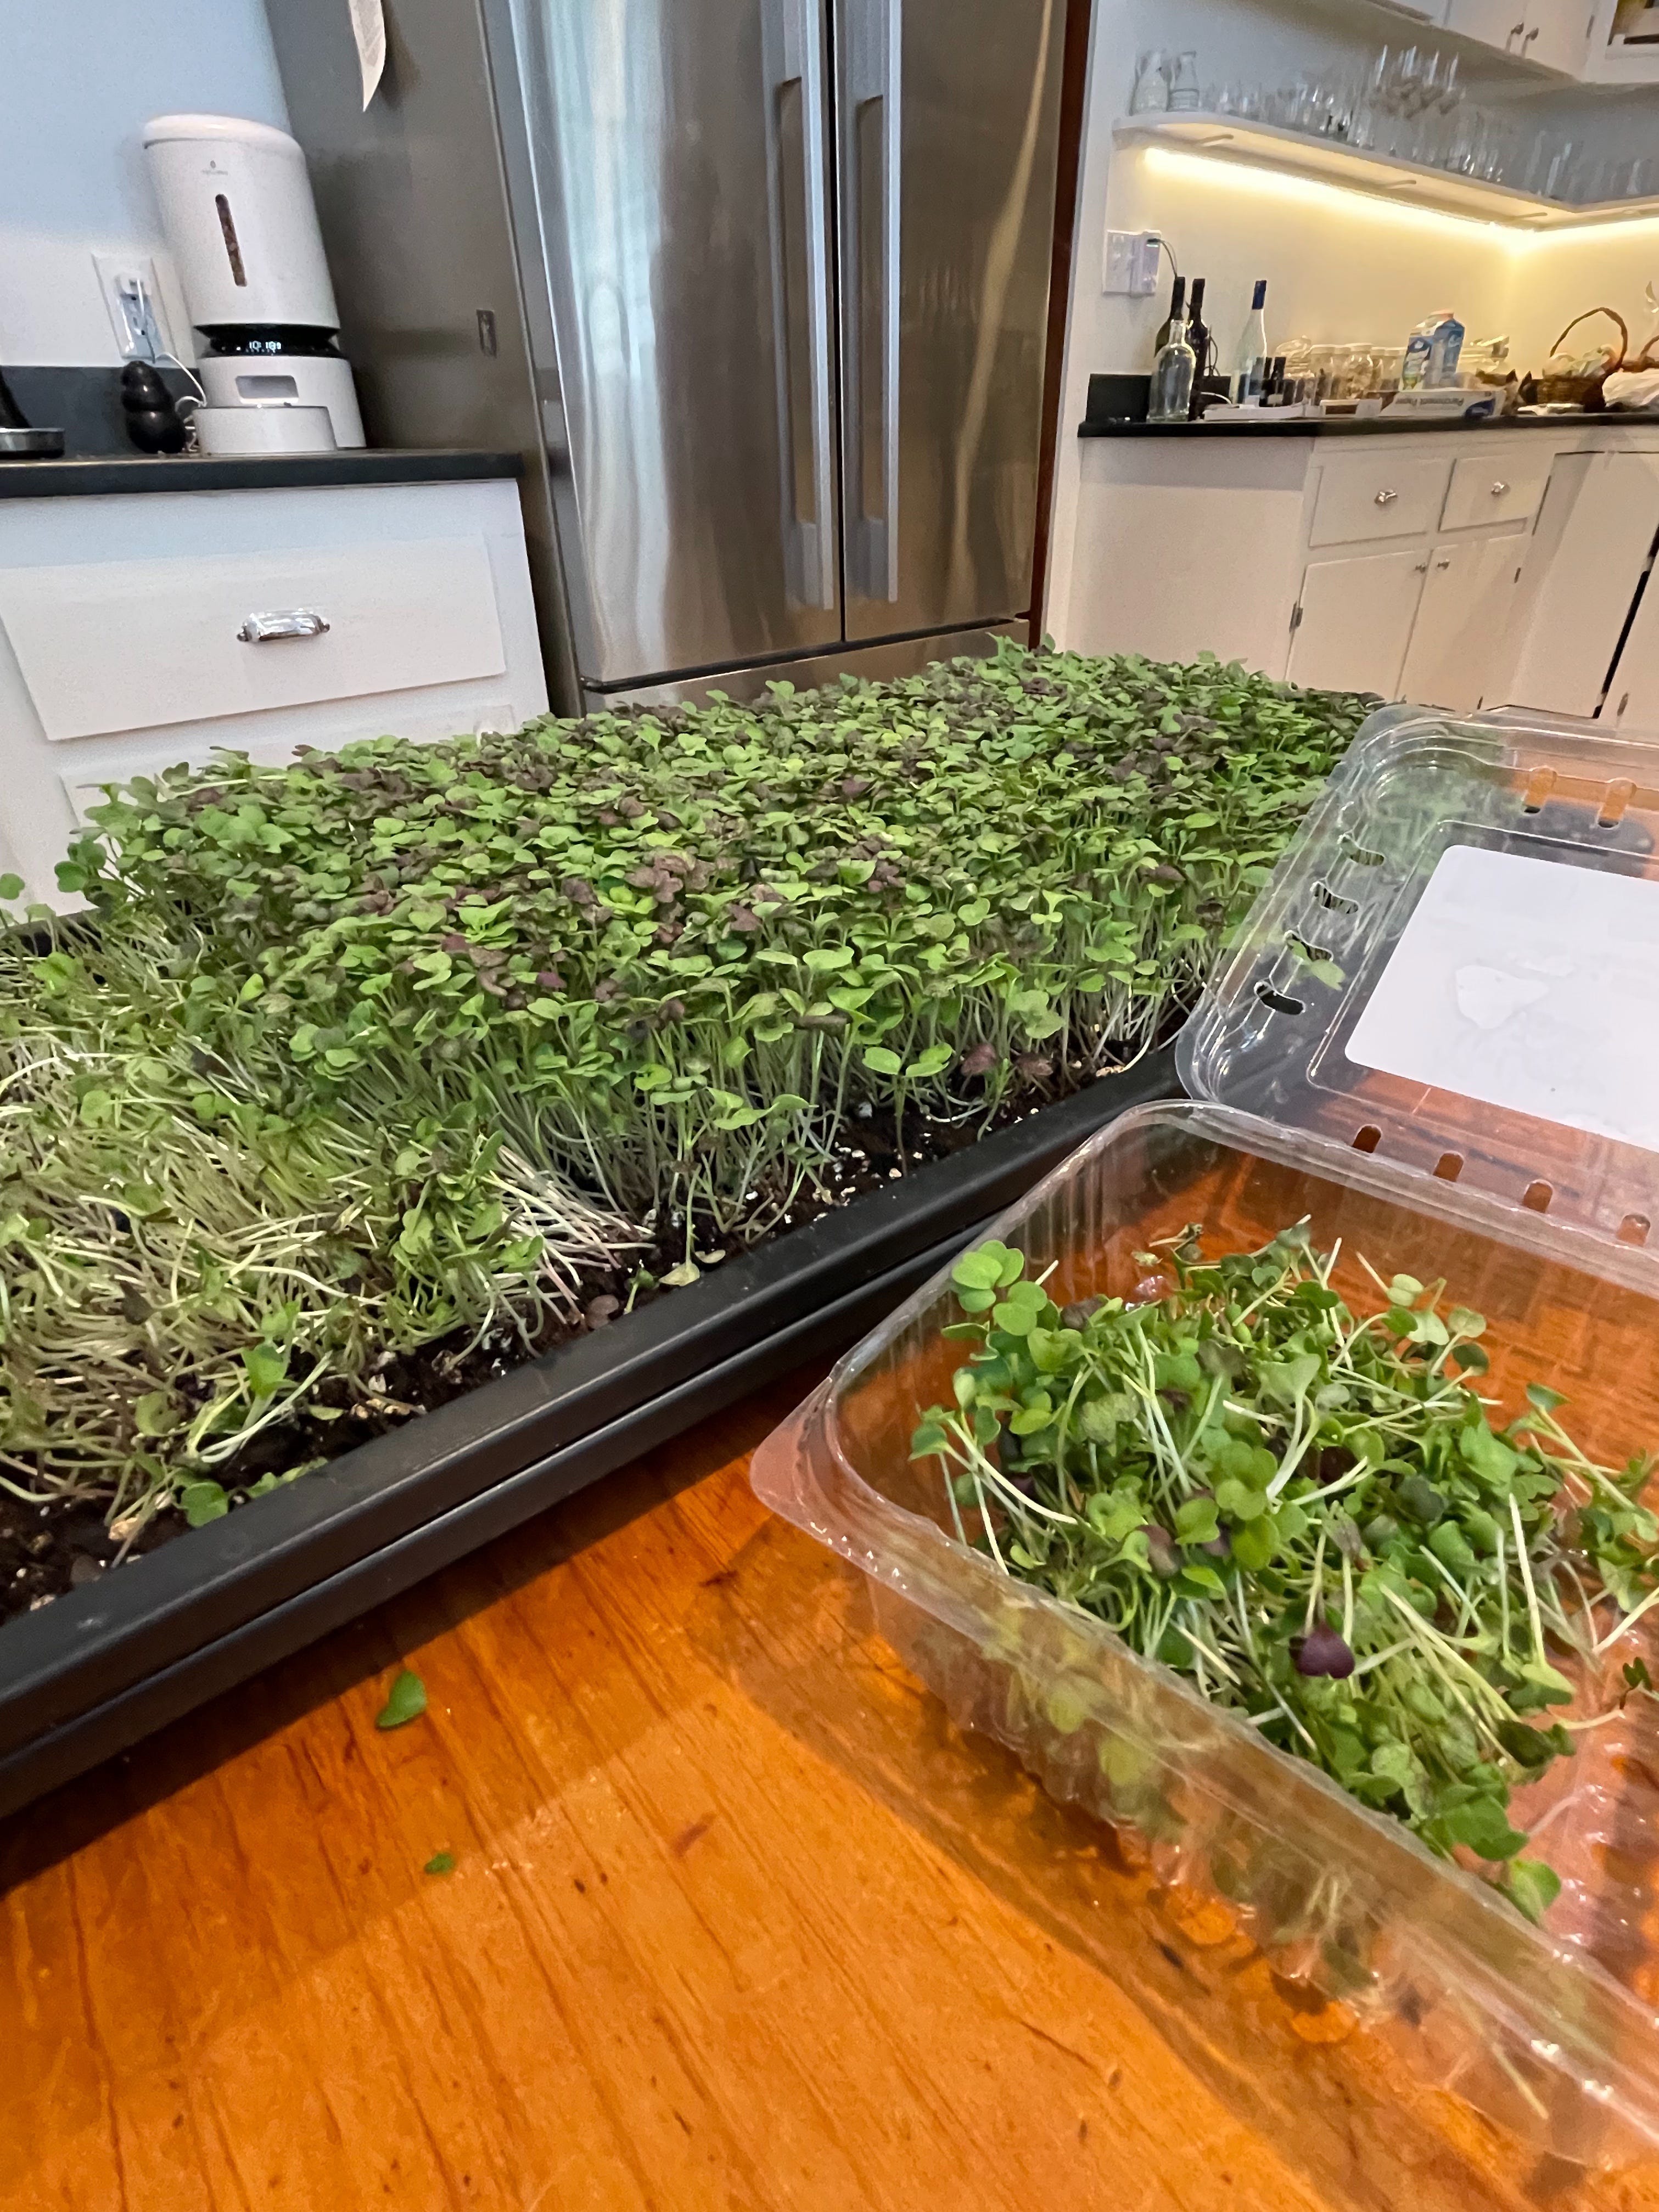
Depending on what you’re growing and the growing conditions, the microgreens will be ready for harvesting any time from three days to a week or so. To harvest, use sharp scissors. Hold the scissors parallel to the soil but just above it so you are just cutting the greens without pulling up any soil. You can do this in sections, gently taking hold of a small section of greens at a time and cutting them from underneath.
You can harvest the microgreens all at once or cut what you need each day. They don’t need to be washed but if you do wash them you’ll want to use them right away. Microgreens are very delicate and don’t last long even when stored in the refrigerator. So cut them and eat them within a day or two. That way you also get the most nutritional value as well.
The soil from the container can be composted or saved to use as a potting mix for other plants. If you do this, you may be in for a surprise when your planted marigolds or zinnias find themselves sharing space with maturing mustard or kale from surviving seeds from your microgreens harvest. This happened to us last summer and we snipped them to add to salads as a little bonus.